Getting started
eHive is a web-based collection management system that is secure and easy to use. You can use it to catalogue, administer, and publish your collections online. This guide will help you get started.
Overview
In this guide, we'll help you to:
-
Sign up for an account
-
Create an account profile
-
Learn about cataloguing
-
Plan your data entry standards
-
Create an object record
Sign up for an eHive account
You need an eHive account to manage your collections and publish content. It’s free to create an entry-level account.
Create an account profile
Your eHive account profile is an easy way to promote your organisation.

You should enter information on your account profile even if you’re not ready to publish objects yet. Without any details, your account profile will not appear in search results.
Your profile can include:
-
An image.
-
A description of your organisation or collection.
-
Contact information.
-
Details of your on-site facilities.
Learn more about your account profile
Learn about cataloguing

If you’re totally new to cataloguing, we recommend that you check out these guides:
-
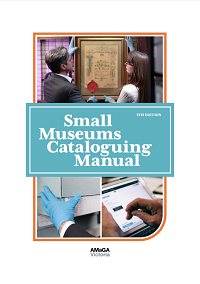
Small Museums Cataloguing Manual - AMaGA Victoria
-
Cataloguing Cultural Objects - Visual Resources Association
Plan your data entry standards
Why have standards?
Planning your data standards helps ensure your data is structured consistently.
Consistent and clear information entered into fields produces better searching and discovery of your collection items in eHive.
It is also important to be consistent if you are considering contributing to an aggregator site such as DigitalNZ, Trove or Europeana.
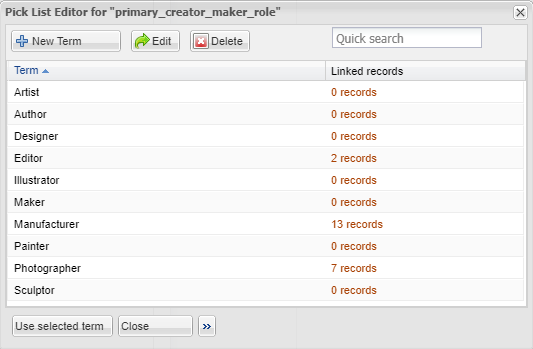
Pick lists

You can use pick lists in eHive to:
-
Standardise object information.
-
Promote consistency.
-
Increase the likelihood of your records relating to other records in eHive.
Use a thesaurus
You should consider using a recognised thesaurus to create terms for pick list fields such as Object type and Classification.
We recommend these thesauri:
Create an object record

Let’s create your first object record! There are six main steps:
-
Log in to My eHive.
-
Select Create.
-
Choose a catalogue type.
-
Enter data.
-
Save and optionally publish the record.
-
Add an image, document, audio file or video (optional).
See Create an object record for a detailed guide.
Ready to learn more?
See our other help guides:
